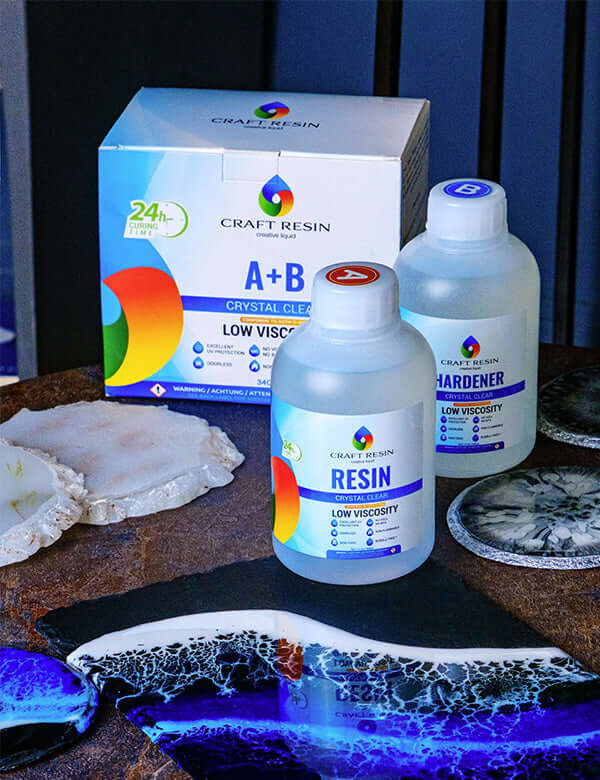
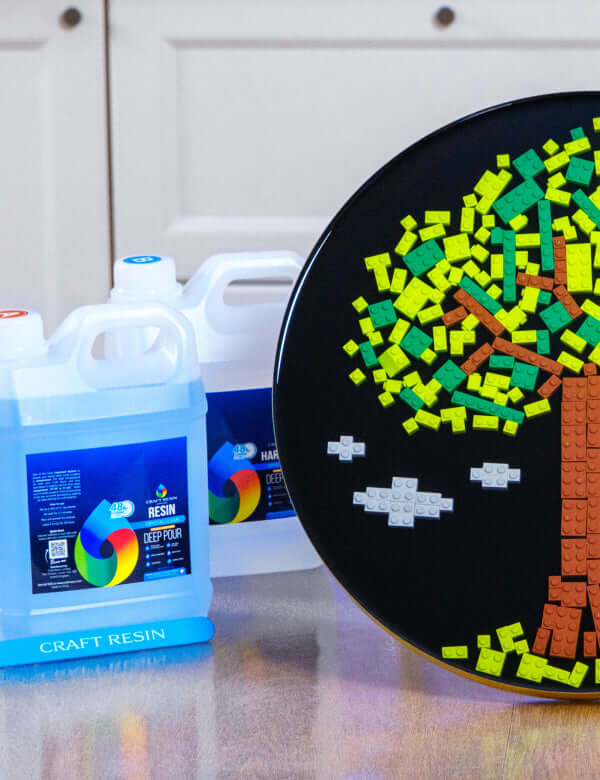
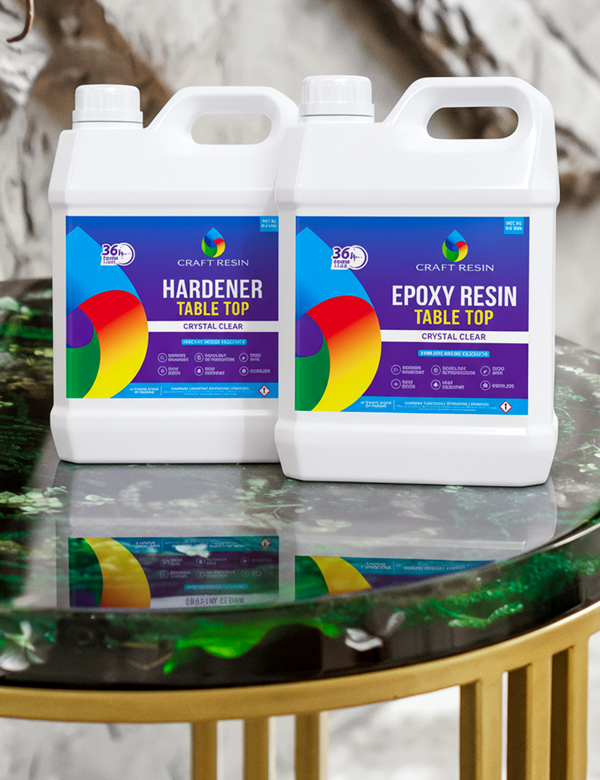
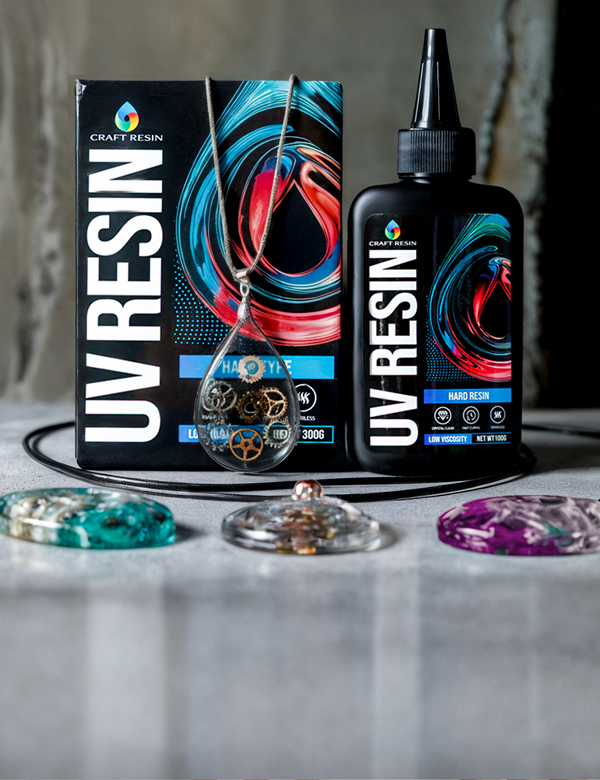
Craft Resin is a premium epoxy resin, it comes in the form of two liquid substances that when mixed together by equal volumes will cure (dry) hard. When left without any colour additions to it, Craft Resin also cures crystal clear. This means it is the perfect substance to cast items that you want to preserve for life - Meaning creating the perfect memorial project can be super simple.
It can be simple and epoxy resin can turn out really well when the correct techniques are followed, however if you are new to creating with epoxy resin we would suggest creating items using less sentimental additions at first till you have perfected the techniques, then move onto sentimental items.

Using epoxy resin you could cast:
Ashes
Jewellery
Photographs
Pet tags
Hair
Flowers
And many more items that may mean something really special to the person you have lost. Items like the above can degrade over time, but when cast in epoxy resin these can be kept in a great condition for the long term and can also be displayed in the most beautiful ways. So you could then keep the memories of your loved one in your home in a beautiful creation.
Let’s go into more detail of how to cast the above in your epoxy resin creations. As always Craft Resin is a creative fluid, so there are lots of ways this can be done and over time you’ll find your own artistic flare with it, but this information will help you get started…
Ashes:
Ashes are another item that has become popular to cast into epoxy resin in recent years, again the epoxy resin will enable you to cast the ashes and be able to cherish them forever. Many people cast pet ashes or ashes of their loved ones too.
Please once again before you begin, learn the techniques to do this and practice on something less sentimental till you have the techniques perfected. Sand can act a lot like ashes will in resin so please try it with something like sand first.
Ashes are light and so can move around a lot in epoxy resin when it is still in its liquid form, if you pour epoxy resin on top of ashes these may disperse them and make what was a condensed area of ashes look more sparse. Please take this into consideration, sometimes where the ashes move may look great, but sometimes it may not so it’s just something to note.
Before you start you can prepare your ashes so they don’t move too much. You can add your ash into a small mold in the shape that you’d like it to be and then add a small amount of resin to it, mix the ashes into it a bit and then leave that to cure for 24 hours. You can then add this into a larger resin project to encase it perfectly whilst it stays in that shape. This is great if you want to use something like a heart shaped mold, you will have a perfectly formed resin/ash heart piece to add to your larger projects.
The other way you can add ash into your resin project is to add it at the mixing stage, simply mix the resin and hardener for about 4 minutes, then add in the ashes for the last minute of mixing. You can then pour these into your mold, but once again it may move slightly, but that could be the look you’d like to achieve.
Sometimes people add some glitter into the ashes too so that it gives it an extra sparkle and beautiful touch as ash itself can look quite dull, and more dull when the resin is added to it as if it was wet.
If you are creating memorial projects using ash for a customer, then please do speak to them in depth about what they would like the project to look like and also set their expectations with how it can look. It’s better to be transparent about how it can look different to their expectations as resin moves in different ways in the beginning, rather than when they see the project for the first time and seeing their disappointment. Once resin is hardened it cannot be undone, the ashes will not be removable!
We don’t have a YouTube video on adding ashes to resin just yet, but there are lots available if you add that into the search bar. Watch, learn, experiment, practice and then gift/sell your memorial projects!
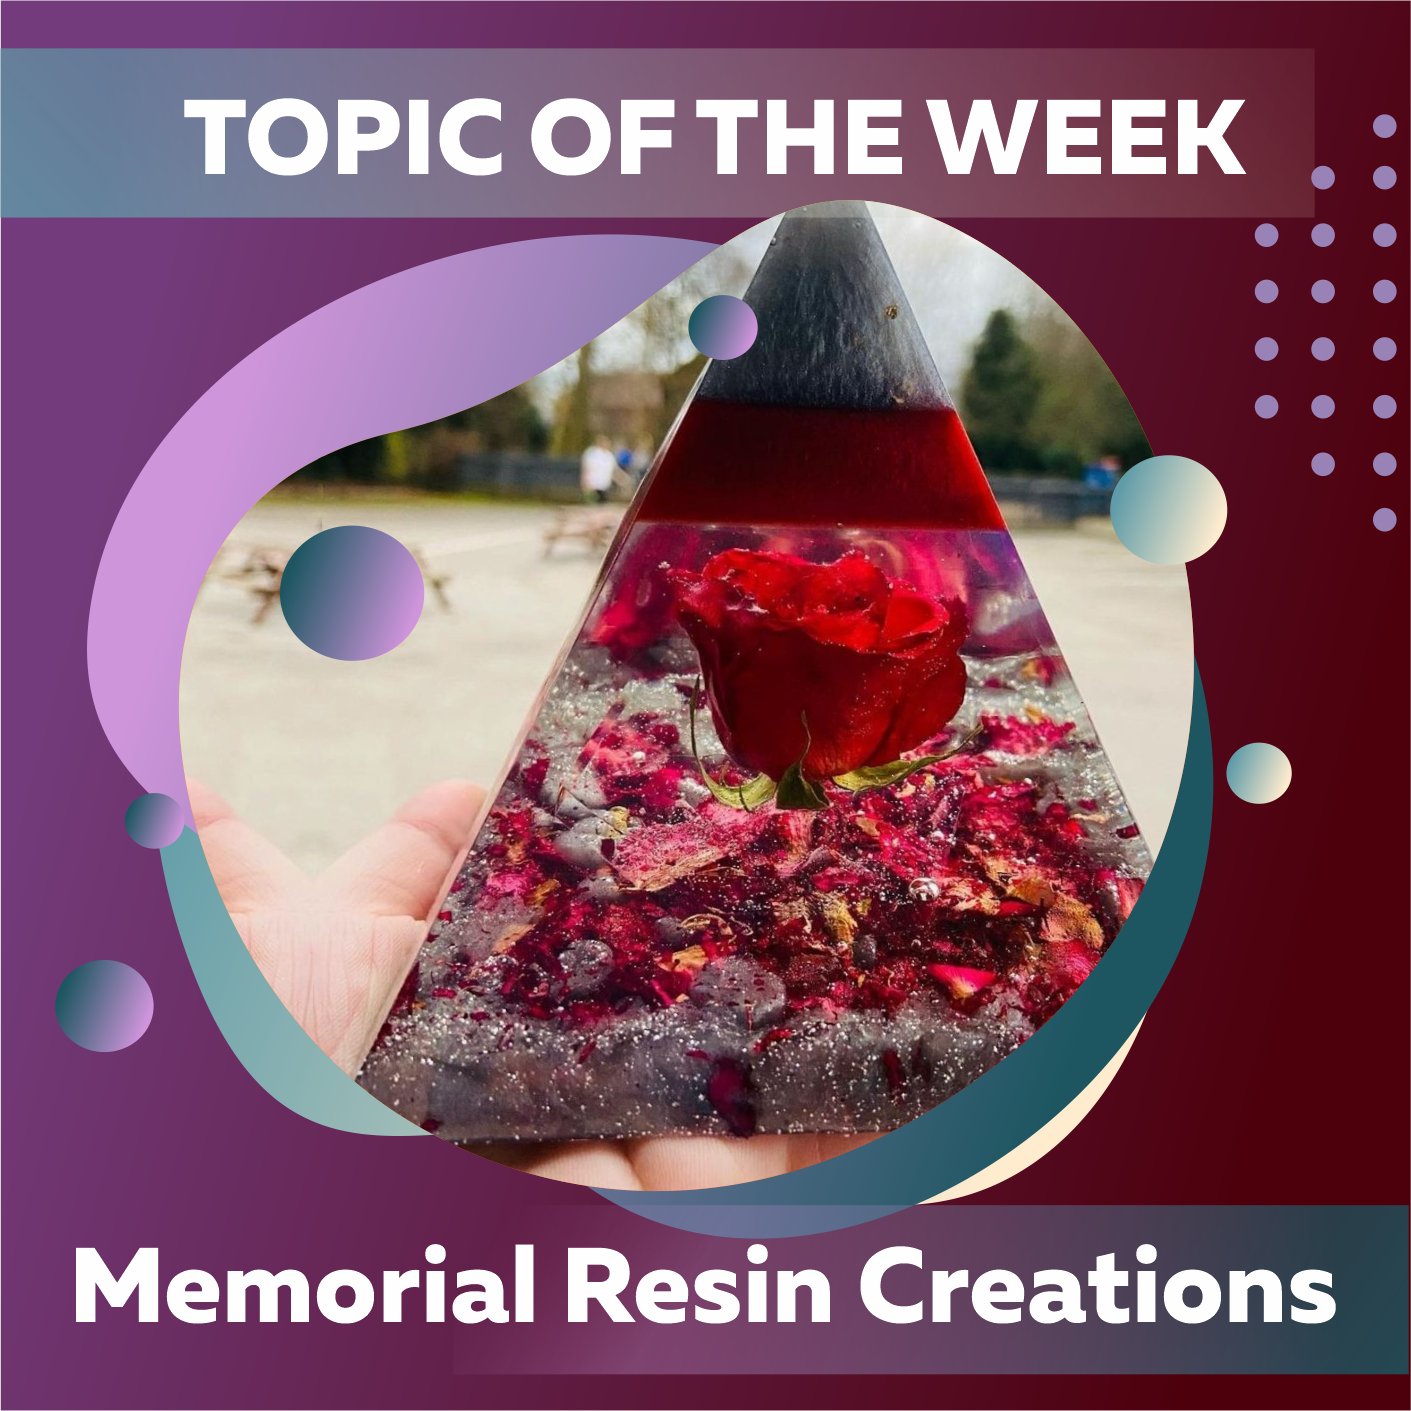
Memorial projects using ashes can be so beautiful and each one as unique as the person or pet they represent, like this beautiful project created below by Mandie Dite who is one of our Facebook Community Group Members. It's such a beautiful tribute to one of her family members:

Jewellery:
Jewellery can be a very sentimental keepsake from a loved one, you can absolutely cast jewellery in epoxy resin either alone or with other items.
You can use Craft Resin to cast lots of different metals. Whereas some you may need to sand down if you’re adding resin to them so it bonds together, if you’re casting jewellery and completely casing it in epoxy resin you will simply be able to place these in your creation without prepping the jewellery in any way.
If you are ever unsure if the jewellery you have is a certain type of metal and you aren’t sure if you need to prepare it beforehand, it might be useful to cover in a simple clear primer like Gesso before adding it to the epoxy resin creation. Please make sure you leave a few days for the Gesso to completely dry before adding to the epoxy resin.
When adding jewellery to epoxy resin please be aware that it can sink to the bottom of your project. Epoxy resin is a liquid and hardens up during the curing phase, you may need to leave the resin to cure for an hour or two before adding the jewellery so it doesn’t sink straight to the bottom. The exact timing for this may take some experimenting on your part.
Epoxy resin also self levels, which means it flows and moves around when first poured, as it thickens up it stops moving so much. If you want the jewellery to stay in a certain spot then monitor this movement and either use a stirrer or toothpick to move it back into position, or once again add to the project a short while after first pouring.
Pet tags:
Pet tags are mostly made of metals these days so will need the same instructions and care taking as casting jewellery to your projects.
When casting dog tags please note that you may want a certain side of the tag showing through the top of your creation, when you cast some projects in molds these are cast upside down, then when removed from the mold are turned over into position to display. This about this movement if you want a certain side of the tag showing, how will it look when you de-mold the project?
Photographs:
Epoxy resin once cured will last the test of time, so it’s great for use to encapsulate your beloved photos to create lasting memories. It can be really simple to add your photos into epoxy resin and we have a couple of bits of guidance for you on how to do this:
How To Add Photos To Epoxy Resin Creations Blog
Casting Photos In Resin YouTube Video

Hair:
Lots of people out there really love memorial projects created with their beloved pet hair, or to cast their babies lock of hair from their first hair cut etc. It can once again make a lovely personalised keepsake.
Hair can once again move around in liquid resin mix, so once again experiment and see using maybe a small cut off of your own hair before attempting to sell any resin hair creations. Hair is very similar to ashes in the respect that it can be a sentimental project so once again, learn more and then try it on hair that is less sentimental first.
The issue you can have when casting hair is that it can stick out of your project, so you might want to work in stages once again. Cast it in a smaller mold first in the shape you desire then add to a larger project, or add to a larger project in layers, cutting off any parts that stick out as you go.
Hair might again look slightly darker or like it has a wet look to it so again set the expectation of your customer if you are creating a project using hair for someone else.
You might not want to add any colourant or glitter to a project that includes hair as it can sometimes cover the hair itself too much and you lose the beautiful effect that you can get when adding hair into resin, sometimes it can shimmer on its own.
Again there are lots of how to videos available on YouTube for adding hair to epoxy resin projects so please do search more on there before you begin.
For some inspiration have a look at Forget Me Not Memories By C work below, in this image the two hearts have a lock of hair neatly placed in them alongside beautiful forget me not flowers and a touch of gold leaf:

Flowers:
Flowers can look extremely beautiful in epoxy resin creations, especially memorial pieces. If you’ve just got married you could preserve your wedding flowers, or if you’re loved one has just passed you can preserve their funeral flowers.
Please note that you cannot use fresh flowers for this, they will need to be dried out first. Fresh flowers will rot inside your epoxy resin over time, so they may not look as beautiful in a few weeks time.
We have lots of guidance about adding flowers to epoxy resin creations so please do your research before starting projects like these, especially if creating memorial/sentimental flower projects:
How To Add Flowers In Epoxy Resin Blog
How To Make Flower Coasters YouTube Video
Topic Of The Week Giveaway:
We have attached a giveaway to these Topic Of The Week announcements on our Instagram platform, this is helping us to spread the knowledge of how to use epoxy resin further, but also enabling anyone who helps us share this information to win free resin and mica powders.

To enter the weekly giveaway please see the latest post #CRWEEK45 on our Instagram feed/highlights and follow the instructions to enter:
We hope you get lots of use out of your molds, and you get to create from them for many years to come.
Team Craft Resin

