


Whether making them for personal use or selling them as part of a resin company, learning how to produce resin tumblers is useful.
In this week's post, we'll show you how to manufacture custom tumblers that are fun to make, whether you're a seasoned resin artist or just starting. The standard procedures will be covered, but from there, you're free to let your imagination run wild while making your Tumblers.

Let's speak about Craft Resin's food safety features first (the advice for other products may differ).
Craft Resin may be used as a food contact surface once it has set and solidified. A third party conducted extensive testing for leaching and migration according to international standards, and Craft Resin passed with flying colors. Food that comes into touch with completely cured Craft Resin used as indicated will not absorb any of the resin's chemicals.
You may verify that Craft Resin is free of BPA by consulting the relevant sections of our Safety Data Sheet and Technical Information publications.
Because resin tumblers are created by molding resin around an insert known as a tumble cup, the liquid within the Tumbler won't be in direct contact with the resin for a prolonged time. If you don't use a straw, though, your lips may brush against the rim of the Tumbler when you sip from it. If you are concerned about whether or not it is OK to proceed with this activity, you should know that using craft resin in this manner does not pose any safety risks.

Metal cups are superior to plastic cups in their ability to form a strong connection with resin, making them the ideal choice for use as an insert in casting. Consider purchasing an insulated cup version to use the Tumbler for hot beverages. This will ensure that the resin on the cup's exterior is not damaged by the heat created by the beverages over time.
A tape-like frog tape can seal off portions of the tumbler cup where you don't want the resin to flow, such as the space inside the top lip. After the resin has dried, you may easily scrape out any resin that may have formed there.
Applying a coat of spray paint to the exterior of your tumblers as a last step in prepping them is a good idea; make sure it's a spray paint that sticks to metal. Wait until the paint is completely dry before adding resin over it. This is necessary to color the Tumbler below your clear epoxy resin for crafts coating. You may skip this step if you're working with colored resin.
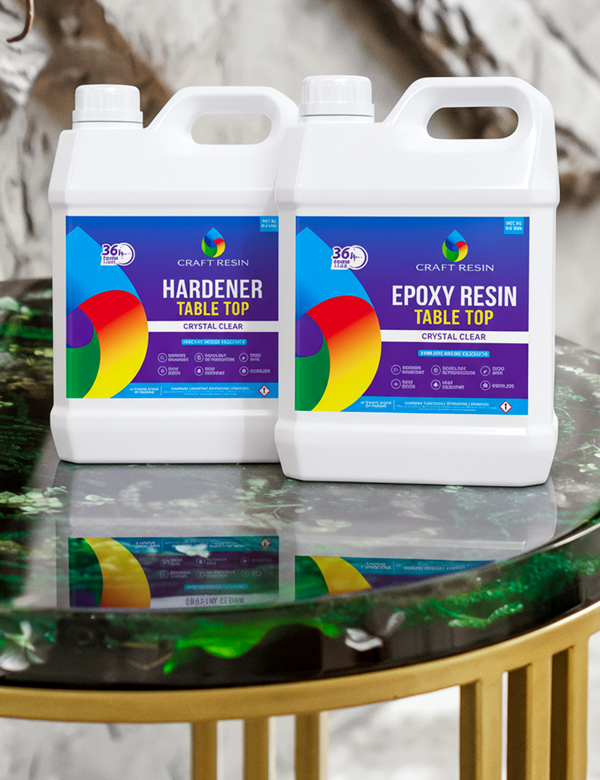
Before you can resin your cup, you'll need to read the epoxy resin. Because coating tumblers in resin don't require vast volumes, you may use our usual Low Viscosity resin for this work when manufacturing one or two at a time. Our Deep Pour resin is ideal if you're making a lot of tumblers at once and need to mix a lot of resin at once. Please bear in mind that the curing time for our Deep Pour resin is greater than that of our regular resin and that you will need to keep your cups rotating for longer.
Once you are ready to resin your cup, you will need to prepare your epoxy resin. Because covering tumblers in resin doesn't require large amounts of resin, when creating one or two at once, you can use our normal Low Viscosity resin for this task. If you are creating multiple tumblers at once, and you need to mix larger amounts of resin in one go, you might want to consider using our Deep Pour resin. Please note our Deep Pour resin will need longer to cure than our normal resin will, and therefore you will need to keep your cups turning longer than you would when using our normal resin.
To properly measure, mix, and pour our standard or Deep Pour resin, please refer to the instructions in your kit.
Tumblers made of resin require regular rotation of the cups while they are being made so that the resin may cure evenly around the cups. Resin won't be evenly distributed throughout the cups if you pour it on them while they sit still. This can be done manually, but it will be tedious and time-consuming. Investing in a Tumbler cup turner that spins the cups automatically is a time-saver. Follow the directions with the tumbler cup turner you purchase, and ensure you cover your workstation below the cups with enough protection in case some resin leaks below the cups. Amazon and other online retailers provide tumbler cup turners in convenient quantities.

After inserting a cup into the turner, you may turn it on. When it's your turn, slowly pour the resin mixture into the cup. You can always add more, but it will be easy to manage if you pour less at a time.
While the cup is spinning, distribute the resin evenly over the cup using your gloved hands. Resin is incredibly sticky and difficult to remove from surfaces like tables and carpets, so take precautions around this area.
Tumbler designs benefit from using resin sparingly initially and adding more layers to get the desired color/patterned appearance.
Once you've applied the initial coat of resin to the Tumbler, you can easily apply embellishments like glitter as it spins. Have fun and experiment with different ways to decorate your tumblers; you may want to start simple, but as you get the hang of it, you'll find that the possibilities for customization grow.

If you embellish your cup with glitter, pour another layer of resin over it to enclose the glitter completely. The resin will shield the glitter, preventing it from washing out of the cups. After 3 to 5 hours, apply a second coating of turpentine to your cups in the same manner as the first. You may do this as often as you wish, but remember that your Tumbler will get increasingly cumbersome as more levels are added.
If you must wait more than 5 hours between layers, let the previous coat dry completely before sanding it down, washing off the sanding dust, and applying the next layer to your cup. When applying many layers, you must sand between each layer to provide a strong connection between them.
A room warmed to between 21 and 24 degrees Celsius (70 and 75 degrees Fahrenheit) is optimal for curing resin. During the first 24 hours (48 hours if using Deep Pour) of curing, you should maintain this temperature to avoid resin problems.
Within the first couple hours after pouring resin into a cup, you can pop bubbles using a heat torch if you see any bubbles developing. Over-torching your work may be avoided by gently sweeping the heat torch over the entire product; the bubbles should explode right before your eyes.

If you use our regular resin, it will take 24 hours to cure, but if you use our Deep Pour resin, it will take 48 hours. You do not need to continue spinning your cup for the entirety of this time if you do not choose to. It only has to be turned for sufficient time for your resin to solidify so it will no longer move. Allowing our regular resin to cure for eight to ten hours before turning it should be sufficient; however, the Deep Pour resin will require additional time. If you are doubtful, you must turn it in for longer.
After the curing process is complete (after 24 or 48 hours), you can remove the frog tape from the inner lip of your cup if you apply it there. If only a small amount of resin has gathered onto the tape, you can pull it off easily. If the resin has gotten onto it and hardened, removing it may be more difficult; thus, you may need to gently reheat the resin on the taped lip using something like a hair dryer to soften it and simplify removal. Be careful not to leave the heat on the entire cup since doing so may cause all of the resin on the cup to become softer, which can cause problems.
If you did not utilize tape on the cup's inside lip but did get resin inside the cup, it is simple to remove the resin. Because the interior of the metal cup has not been sanded, the resin will not attach to it. Because of this, you should be able to use a Stanley knife to carefully remove this from the inner lip of the metal cup.
If any jagged edges remain on the lip of the cup, you can use sandpaper to remove them carefully; however, you should take care not to sand too much at this stage. As soon as you have returned the region around the lip to its previous smooth state, you may clean your cups, and once you have done so, they are prepared to have their lids attached, at which point they are ready to be used.

Never, ever put your tumbler cups in the dishwasher to clean them since the extreme temperatures inside can warp and destroy the project. Please comply with this request. When cleaning your glasses, wash them carefully and use warm but not boiling soapy water. Never use strong chemicals on resin since doing so might cause the things made of resin to lose their luster over time. If you are going to sell your tumblers to clients, you must always provide this information to them.
If you decide to make resin tumblers using Craft Resin, please send them our way so we can look at them. We would appreciate it if you could hop on over to our Instagram page and tag us in any of the pictures or stories in which you showcase your projects:
@craft.resin
Topic Of The Week Giveaway:
We have attached a giveaway to this Topic Of The Week announcement on our Instagram platform; this is helping us to spread the knowledge of how to use epoxy resin kit further, but also enabling anyone who helps us to share this information to win free resin and mica powders.

To enter the weekly giveaway, please see the latest post pinned to the top of our Instagram feed and follow the instructions to enter:
Team Craft Resin