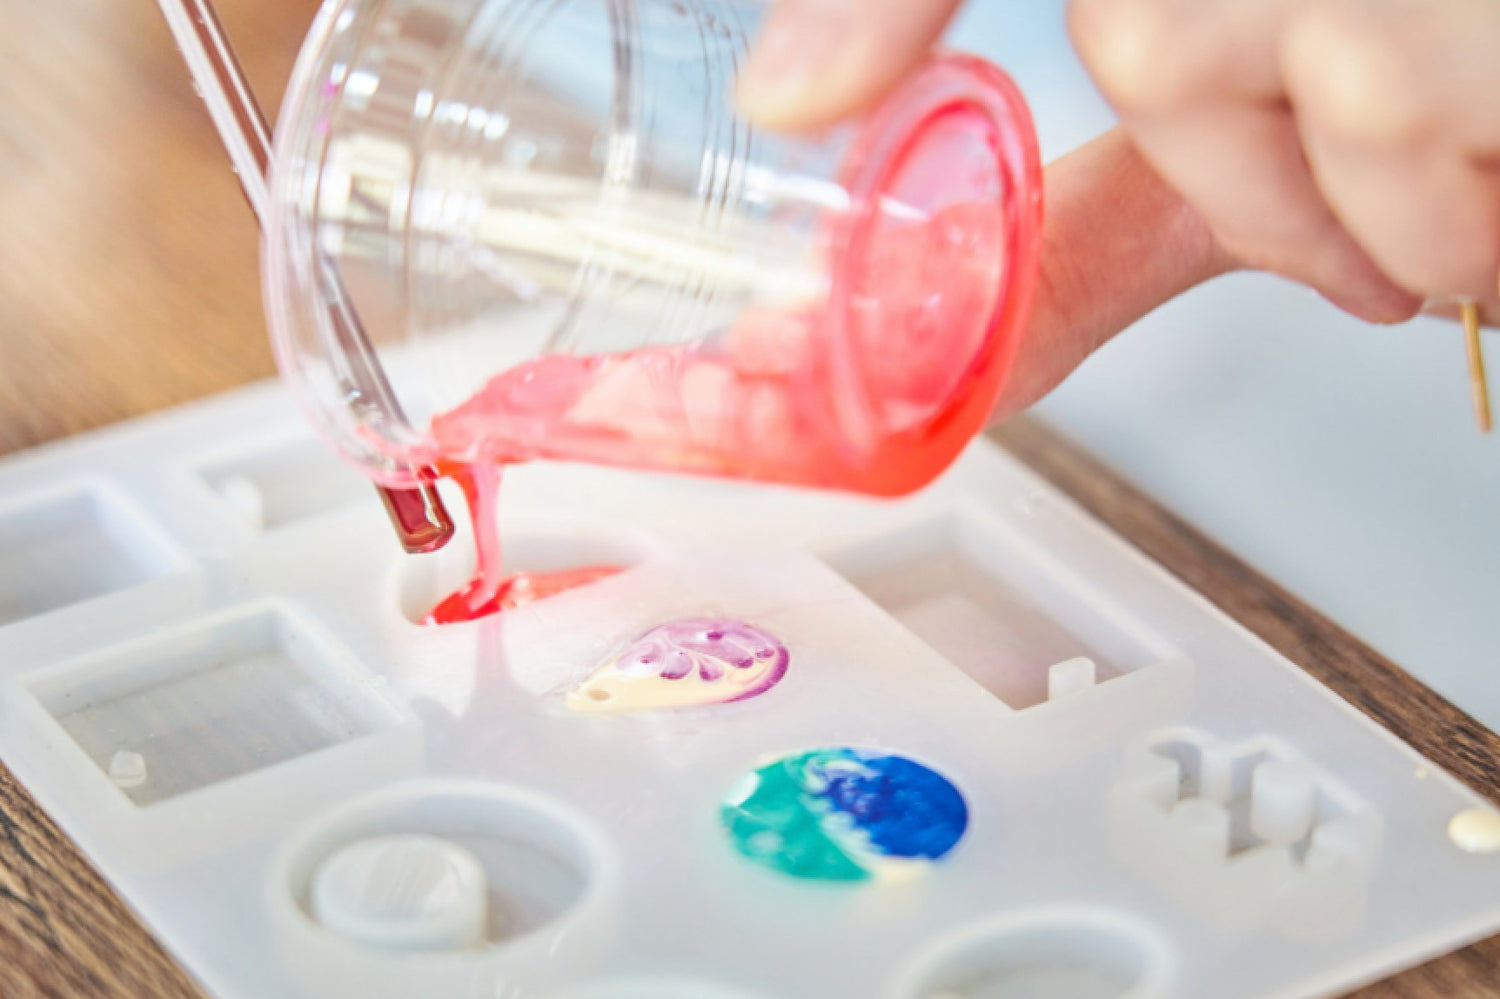
Today we're diving into the world of Molds. the world of molds is so vast, we wanted to share our tips and suggestions. On the outside, molds can look pretty confusing with the amount of choice you have, but they really needn't be.
A lot of what you can use for molds is up to your imagination, but we’ll give you a few examples of what you can use, where you can get them from and even how to make your own below.
Molds come in various shapes, sizes, designs and materials. Which one you will use will very much depend on the project you would like to make.

The most basic option that you can get to make your own mold is to use sellotape or brown tape. These can be used on top of boards to create the outline of a shape which creates a dammed area, which you can then pour your resin into.
Once the piece is fully cured you can then remove the tape and board from underneath. The thing to look out for with this is to make sure that your tape is sealed, so it doesn’t leave any gaps, you may want to layer it up to make sure of this.
The downside to using tape is that it can be very difficult to make the exact shape that you desire with it. This may mean that you need extra sanding after your piece is cured to make it look exactly like you wanted it to.
Another material you could use to make a mold is transparent PVC sheet material, it doesn’t need to be very thick, thin pieces will do. You can then cut the dimensions that you would like to use to create your shape very easily either with a stanley knife or scissors. You can then use sellotape to hold the pieces in place or something like Hog Glue, which will hold it in place for a long time and also make sure there are no gaps in the mold. You can then pour in your resin and leave it to cure, following your resin brands guidance on how to mix, pour and the curing times needed.
Any plastic container can make a good mold, however depending on the type of plastic used will depend on how easy it is to get the resin out afterwards.
Don’t use anything that you don’t want to have to damage to remove the resin, it may need more sanding afterwards to again get the desired look. Most importantly if you are creating your own molds accept that it may take some experimenting and they may not turn out exactly as you wanted it to at first.
If you’re making something like jewellery you can get things like open back bezels, and many different shapes and styles of closed back bezels too. These can add an extra touch to your jewellery as these will stay and become a part of the jewellery piece that you are creating. These can make beautiful pendants when adding resin and lots of variations of colours and patterns to them.

One of the best materials to use for molds is silicone, resin doesn’t stick easily to silicone and it is very flexible, meaning that it is relatively easy to get your resin out of after it is fully cured. You can make your own silicone molds and there are lots of YouTube videos which show you how to do this. Alternatively you can purchase many different silicone molds online and their price points can be very reasonable, especially as these are reusable.
Silicone molds can be used to cast pretty much anything you desire, from coasters, to pyramids, to the female form statues. The shapes and styles of silicone molds you can purchase are vast. Amazon have a large array of these types of molds.
With all molds it is worth purchasing a release agent, this will help when it comes to de-molding your work, it will stick less and be easier to remove. This is especially useful for larger projects, and you will limit the danger of damaging your work or your mold too. You can again purchase these from Amazon, simply search ‘mold release spray for resin’ and a selection will come up.
After using your silicone molds you will need to wash these thoroughly to remove any remaining resin mix from the mold, before using them again. If any residue or cured resin is left on the mold, when you use it again this will stick to your new work and possibly ruin your new project. So wash your mold thoroughly after every use and then dry before using them again, there needs to be no moisture left on your mold at all otherwise the next project again may be jeopardised.
Make sure you then store your molds in an air tight container, or somewhere that they are going to stay clean and dry. If you don’t you will need to rewash and dry your mold again before you use it for your next project.

We don't supply molds at Craft Resin, but we wanted to share some information about them as they are an integral part of creating resin art.
We will have a course on our new Craft Resin Course platform that will showcase how to make your own molds, so watch out for these launching in a couple of months time.
Team Craft Resin

