


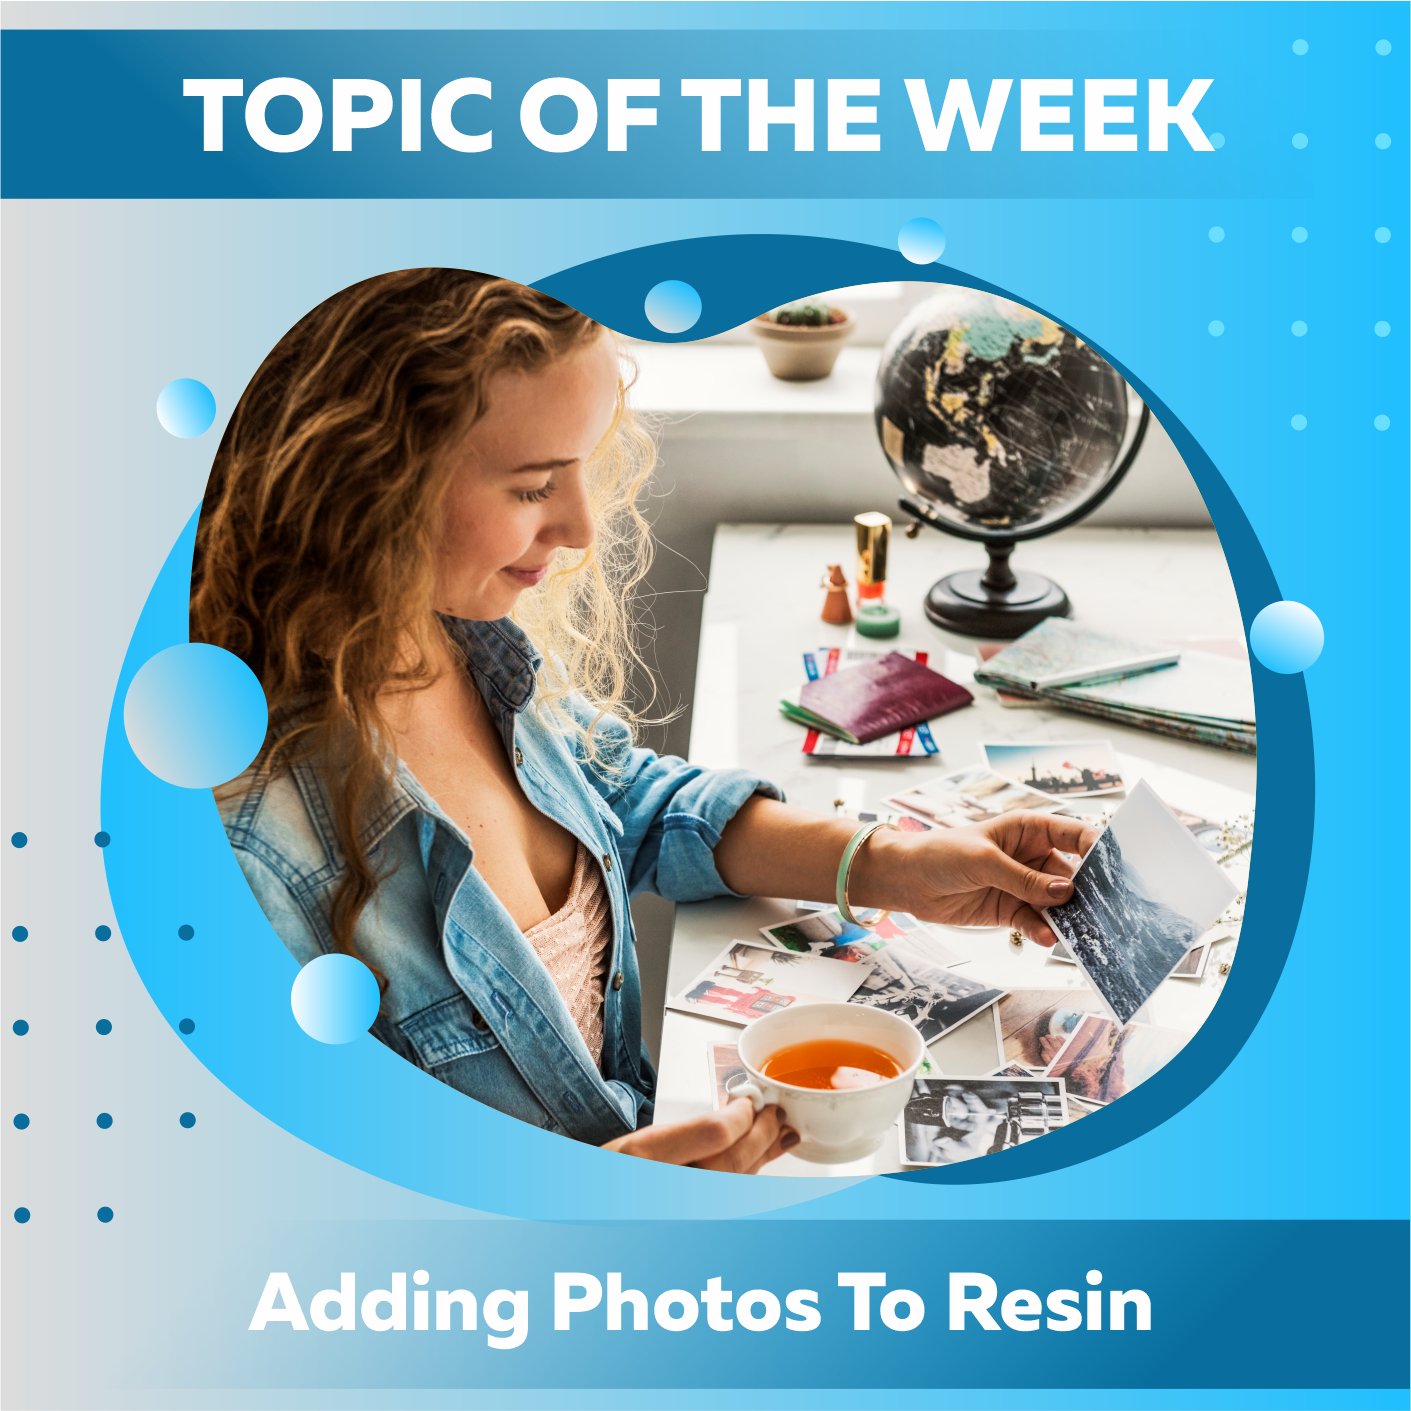
A common question at Craft Resin is, "Can I add photos to resin?" Casting photographs in resin is a wonderful way to showcase your most treasured memories for years. Make picture projects for yourself, to give as gifts, or to sell as part of an epoxy resin company once you've mastered the processes involved.
We have an extremely significant announcement to make before we can begin discussing how to develop such ventures.
Please first practice on a less meaningful photo to you before attempting to restore a photo that may be unique in the world and impossible to replicate. Practice your resin abilities and approaches on some less important images before attempting to recreate any of your most treasured memories in resin.

Now that we've gotten that out of the way, let's go into some further information regarding how to cast photographs into sculptures made of epoxy resin:
Ensure the photographs have been printed on a type of paper (glossy picture print paper is the best option) that will not allow the epoxy glue to seep into the paper and cause it to crumble before you begin.
For instance, you will be disappointed if you try to print a photograph using your home computer and regular copy paper. You'll need to get the pictures printed professionally or ensure your printer can handle printing on glossy photo paper. Polaroid photos that can be printed instantly are another option; they can be taken on the spot or in advance and printed later from your phone (assuming you have a recent model).

Please wait until your printed photos are completely dry before applying resin. Photos printed with ink may benefit from a primer like Mod Podge, which will seal the prints and prevent ink from leaking.
To mod-podge an image, apply many layers of the substance using a paintbrush, waiting for each layer to dry between applications. Because Mod Lodge dries clear, you won't see any streaks or lines in your finished product wherever it is used.
Open the epoxy resin kit and measure, mix, and pour your resin into your mold. This will build the first layer of your project. You can then add your photo to the resin shortly afterward once the photo can be displayed where you want it to without moving around too much in the mold or sinking to the bottom of your mold. This is possible if you are leaving your resin clear. If you leave your resin clear, you can measure, mix, and then pour your resin into your mold. This will build the first layer of your project.
Please refer to the guidelines in the following blog to understand how to measure, mix, and pour the resin properly. Having a firm grasp of the fundamental procedures is critical to the success of any epoxy resin project, so be sure not to skip this section:
The basic techniques to using Craft Resin
Casting photographs may be done in our regular or Deep pour resin. Rather than considering whether resin can cast images, it's important to consider what project you'll use the cast photos for.
Cast your images into Deep Pour for larger, thicker products, or use our regular resin for smaller, thinner crafts. Please follow the instructions below if you require our Deep Pour resin for your project.
How to use Craft Resin Deep Pour epoxy resin
Color may be added to your creation by mixing Craft Resin Mica Powders into a portion of the mixture of craft resin starter kit that will go under the images. Pouring a colored layer over your finished product will cover up the photo. You need the top layer to be transparent to view your photographs.

After waiting 40 to 50 minutes, carefully lay your photo on top of the resin and push it down slightly with your fingertips. Taking these precautions may ensure that behind-the-image bubbles are kept to a minimum.
After you have successfully positioned your picture, you may proceed to apply a subsequent coat of resin. After pouring your initial layer of resin, you have between three and five hours before you may add a subsequent layer of resin and have it adhere to the first. Because the photograph will have adhered to the bottom layer of resin to some degree, it will shift less when the top layer has been placed on. If it moves more than you want, you may use your mixing stick or a pair of tweezers to nuzzle it back into place.
Use caution when utilizing a heat torch to eliminate bubbles in your project. If you have applied a very thin layer of resin to your photograph to protect it, you do not want to do any harm to the photograph. Instead of using heat, use an alcohol spray to reduce the damage caused by the heat while still eliminating surface bubbles.
Please inspect your craft after 24 hours, although it may need longer before de-molding since it may take some time to cure because you have built it up in layers. Wait to touch it before the 72-hour mark if you can help it.
After the resin has cured, you may take your product from the mold and give it the last touches it requires, such as sanding down any resin that spilled over the mold's borders or adding additional colors, such as a gold edging.

If you'd want more information before getting started, you can watch a video we posted on our YouTube channel that explains how to insert photographs into resin:
How to add photos to epoxy resin
Topic Of The Week Giveaway:
We have attached a giveaway to this Topic Of The Week announcement on our Instagram platform; this is helping us to spread the knowledge of how to use epoxy resin further, but also enabling anyone who helps us to share this information to win free resin and mica powders.

To enter the weekly giveaway, please see the latest post pinned to the top of our Instagram feed and follow the instructions to enter:
Team Craft Resin