


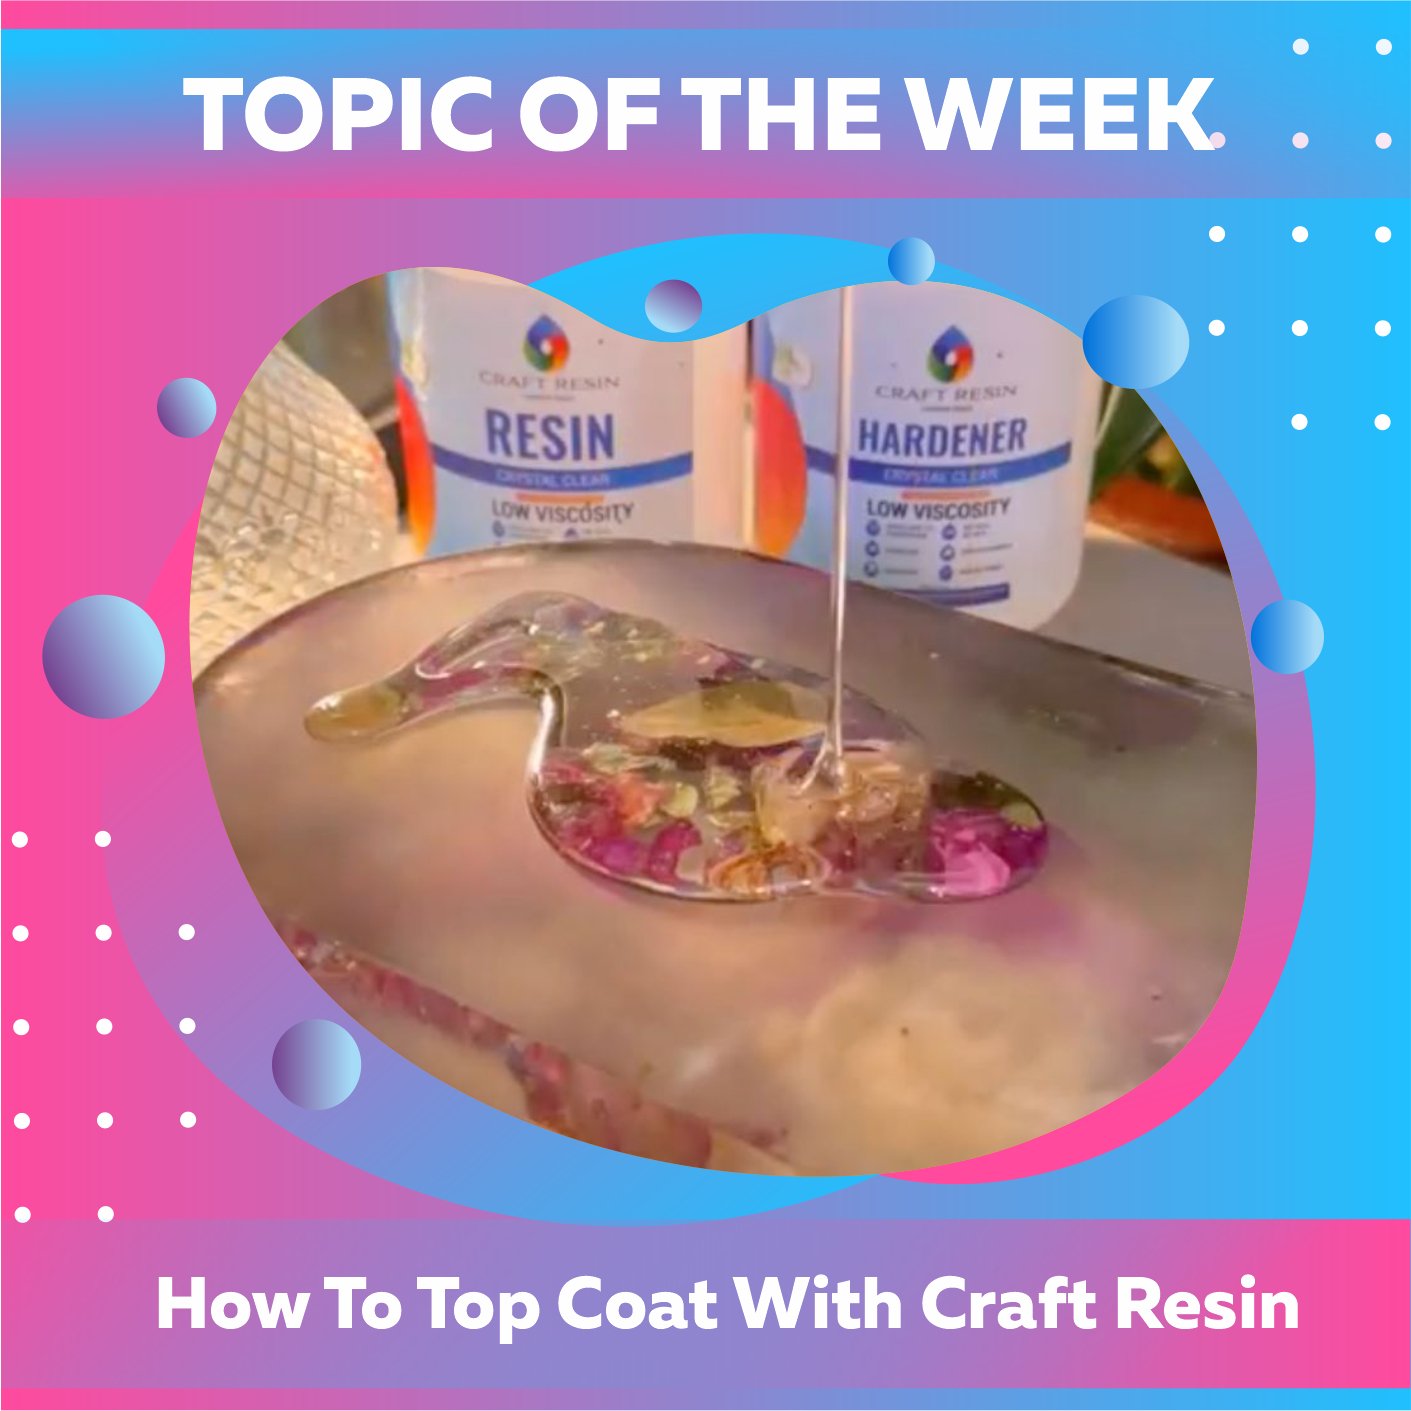
Epoxy resin for art only sometimes needs a Top Coat because it can already provide the glossy look you want. If the initial coat isn't perfectly smooth or even, or if you want to give your work a dome effect, you may need to apply a Top Coat.
Continue reading to learn how to apply a Top Coat of clear craft epoxy resin UK to your project if you are interested in doing this.

Adding a top coat to your crafts may assist in resolving concerns such as bubbles developing on the surface of your work, amine blushing emerging during the curing step on the top of your products, or dirt and debris appearing on the top of your works. When your work has finished curing, and you find any of these faults, please don't panic. Removing these imperfections and then applying another layer of resin to the top coat of your work may do wonders to hide blemishes and make your work seem flawless again.
The first step in applying a finish coat is sanding the project's top surface. Adding more epoxy resin after finishing your task won't bind to the previously cured layer. In order to pour a second layer of epoxy resin on top of your item, gently sand down the initial layer with sandpaper of around 120 grit or until the defect is erased.
Note that sanding epoxy resin will make the resin appear scuffed, but adding another layer of resin will make the scuffs disappear, as the scuffed surface is required for the resin epoxy starter kit to attach to the first.

You may give the work you've done around the borders of your projects a topcoat in a couple of different methods, including the following:
1 - If you position your project on something like a paper cup to stand the resin project up from a desk or countertop covered by protective plastic sheeting, you can keep the resin project from falling onto the surface below. It will be much simpler to clean up any drips after completing your craft if you cover the bottom of the project with something similar to tic tape around the borders. The next step is to carefully pour another layer of resin mixture onto the previous one and allow it to flow over the edges. If you pour slowly, you will have greater control over this aspect of the process. After that, you may use your gloved finger to check that the resin has completely coated all the edges, and then you can set it aside to harden.
2 - The second option is to use liquid latex, which you may apply to the base or sides of your creation, and then use to clean up any resin mix that cures beyond the borders of your work as it hardens. Our Liquid Latex video tutorial explains the process in detail.
After using either method, checking for bubbles in the freshly poured top coat is important. If they do, you can use an alcohol spray to scatter them or a heat torch to remove them. Don't use the heat torch after spraying alcohol, for obvious reasons. Watch for fresh bubbles for the first few hours to see if you need to start the process again.

If you want to be creative, add a few bits of glitter, which won't detract from the colors you have used in layers below, but this might offer an extra sparkle. When it comes to the top coating, you'll usually be able to top it with a clear epoxy resin. However, if you do want to get creative, you'll be able to. It is not necessary to add anything like glitter into a top coat; it is up to your creative flair to experiment with this and make products you love. This is merely a part of the creative process; however, adding anything like glitter to a top coat is unnecessary.
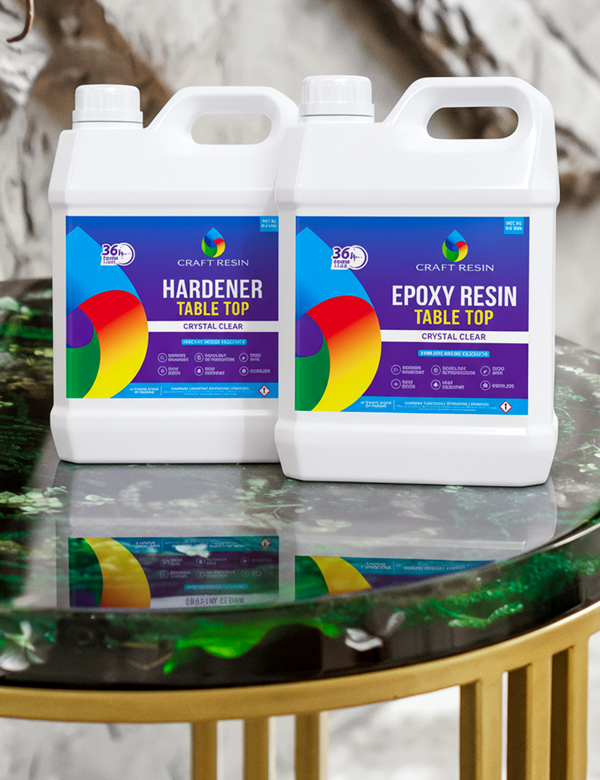
After curing for 21 days, our standard epoxy resin is suitable for use with food, heat resistant, and scratch-proof. The resin projects can endure temperatures of up to 93 degrees Celsius (200 degrees Fahrenheit). It doesn't matter if the projects you make with our brand's resin are top-coated; they will still have this quality. As a result, the top coating will only provide further protection beyond what the resin mix already provides.
After 21 days of full curing, you can reduce the heat resistance by 18 degrees Fahrenheit or 80 degrees Celsius if you use our Deep Pour clear epoxy resin kit for your project. If you require temperatures higher than this, create your item with the Deep Pour resin and then cover the top with our standard resin, which can withstand temperatures up to 200 degrees Fahrenheit (93 degrees Celsius). You can use our regular resin on top of our Deep Pour resin when using the layering techniques described above.
Topic Of The Week Giveaway:
We have attached a giveaway to this Topic Of The Week announcement on our Instagram platform; this is helping us to spread the knowledge of how to use epoxy resin further, but also enabling anyone who helps us to share this information to win free resin and mica powders.

To enter the weekly giveaway, please see the latest post pinned to the top of our Instagram feed and follow the instructions to enter:
Team Craft Resin

